Affiliate Disclosure: As an Amazon Associate I earn from qualifying purchases.
Many people are used to simply plugging their router in and immediately connecting to the Internet. This can certainly work, but you may be missing out on optimizing your Internet connectivity and speeds.
MTU size is the maximum packet size that can be transmitted over your network. Finding the best MTU size and changing it is worth doing should you experience a decrease in speed, lag or even complete disconnections on your network.
In this article, we will look at what MTU is exactly, when you may want to consider changing it, how to find the best MTU size using the ping command, and how to actually change it across your home network.
What is MTU?
MTU is the abbreviation for Maximum Transmission Unit; it is one of the many settings you can adjust within your router and is one, in particular, you should look at in order to optimize your home network.
The MTU size simply determines the maximum packet size that can be transmitted over your network.
MTU size is a property of the physical network interface and typically measures in bytes; the default size will be dependent on the type of network.
For example, the MTU size for Ethernet is 1500 bytes, whereas others will be larger and others will be smaller.
If the messages transmitted are larger than the MTU size, they will be divided into smaller packets before being sent.
You may also like: 50 Networking Terms You Need to Know
When Should You Change the MTU?
The MTU size is considered to be one of the first steps in your troubleshooting you find that your Internet connection speed isn’t as fast as you would expect, or if you experience other performance-related issues.
Thankfully, this process is both quick and easy to perform; no additional hardware or software is needed. You can perform the testing and make the necessary changes with just a computer and your router.
The larger the MTU size is, the more data that can fit into fewer packets. This generally results in a faster and more efficient transmission of data across your network.
On the other hand, if an error occurs, the packet will take longer to re-transmit. Also, more data within fewer packets can result in the packets being bloated.
Larger packets are more likely to suffer from delays and even corruption. A greater MTU size can also increase latency, whereas setting it to a smaller number can help improve the overall latency.
Therefore, you should change the MTU size to be the maximum it can be without any detrimental effects. It may take a few tries to find the best size, but is worth the time investment to help optimize the performance of your network.
How to Find the Best MTU Size
The simplest way to determine the optimal MTU size for your home network is through a simple ping test.
This process involves sending multiple ping requests whilst gradually reducing the packet size until it no longer needs to be fragmented; this is where the messages are divided into smaller packets.
The ping command must be run from Command Prompt if you are a Windows user, whereas the Terminal is needed if you use MacOS.
This tutorial will cover accessing both the Command Prompt and Terminal, and then how to perform the ping tests themselves.
How to Access Command Prompt in Windows
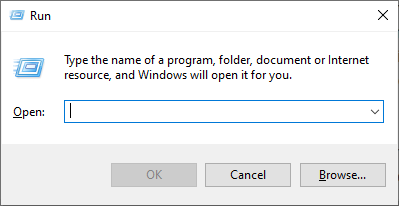
1. Press the Windows key + R to access the Run window
2. Type cmd into the field and click on OK
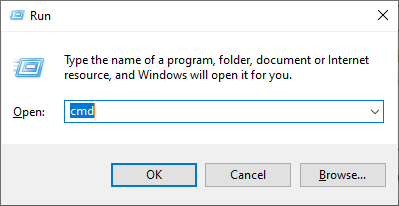
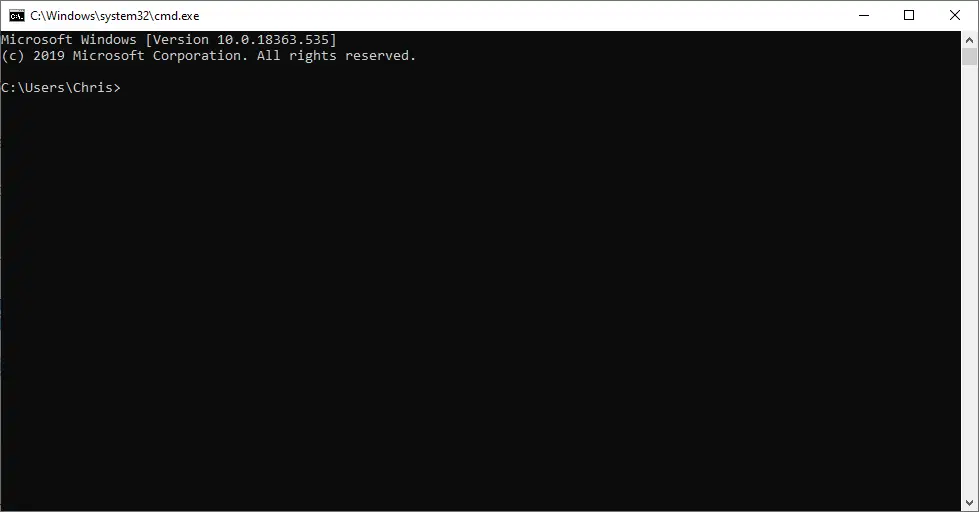
3. The Command Prompt window will open
How to Access Terminal in MacOS
1. Press Command + Spacebar to launch Spotlight

2. Type in terminal and press Enter
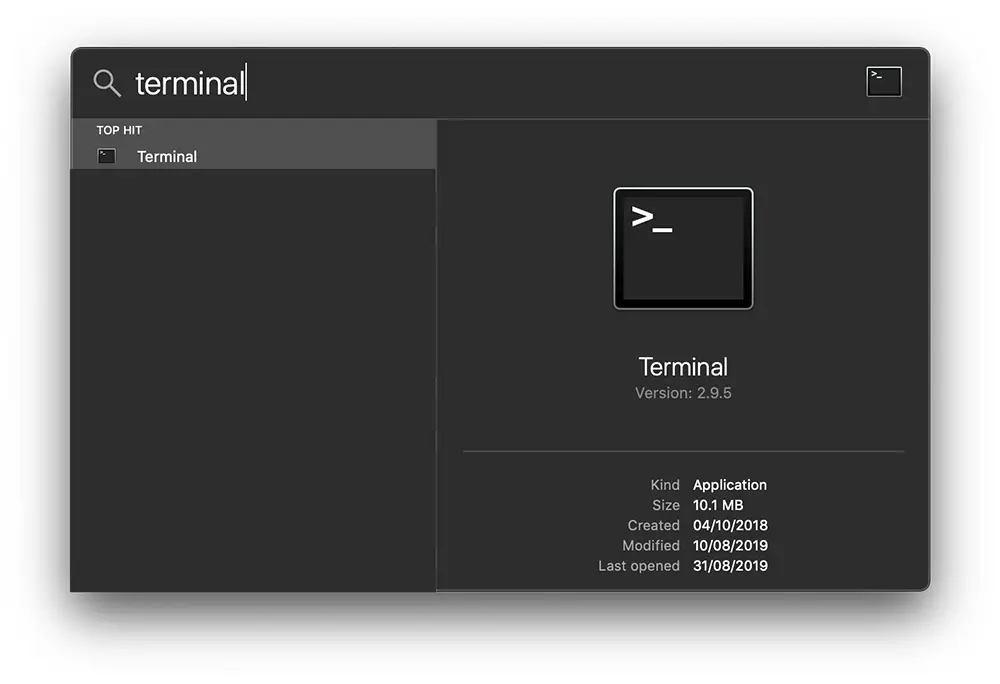
3. The Terminal window will open
How to Perform the Ping Tests
1. Type in the name of a pingable domain followed by the -f and -l switches and then a test packet size to start. In this example, we will start with 1500
Ping www.homenetworkgeek.com -f -l 1500
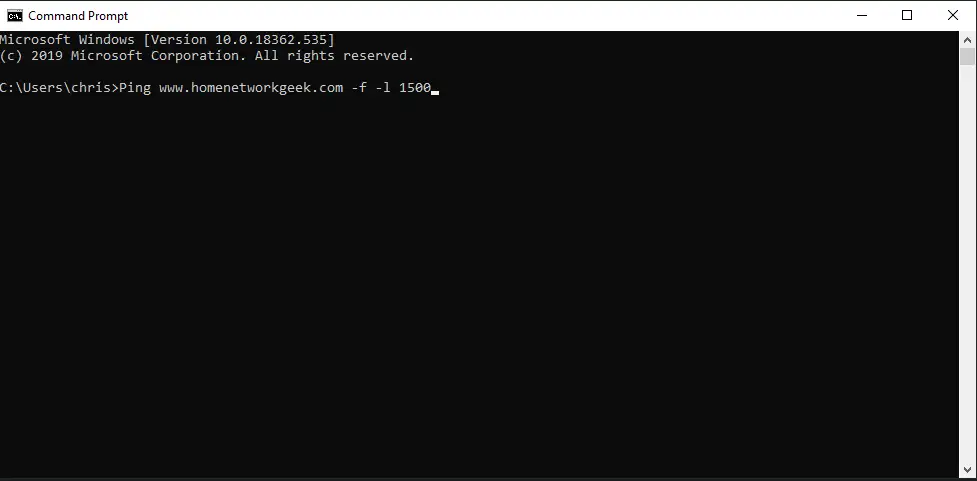
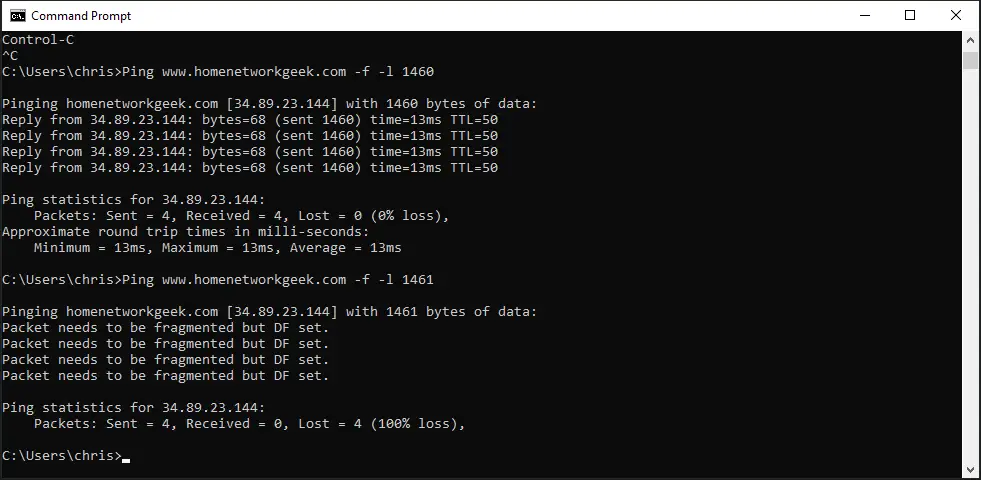
2. If you receive a message saying that the packets need to be fragmented, perform the test again whilst reducing the packet size slightly. 10 or 12 bytes is nice enough decrease
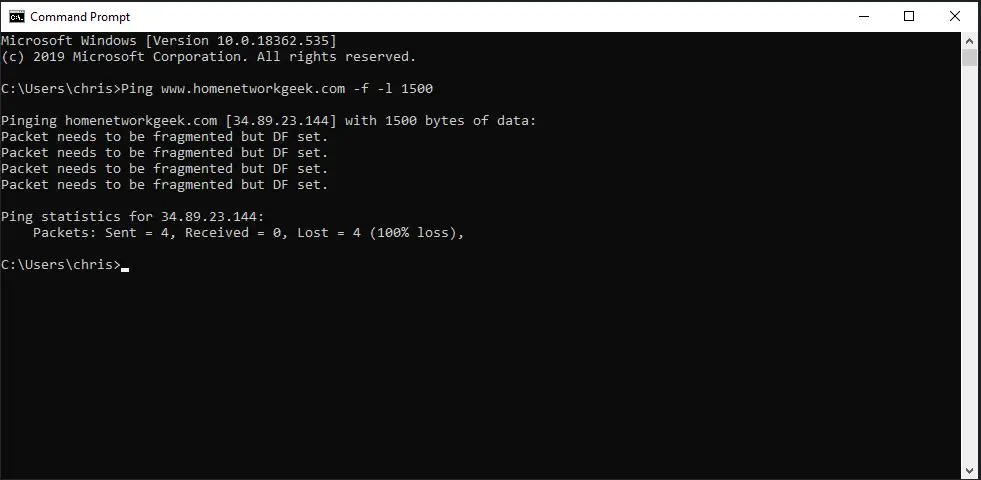
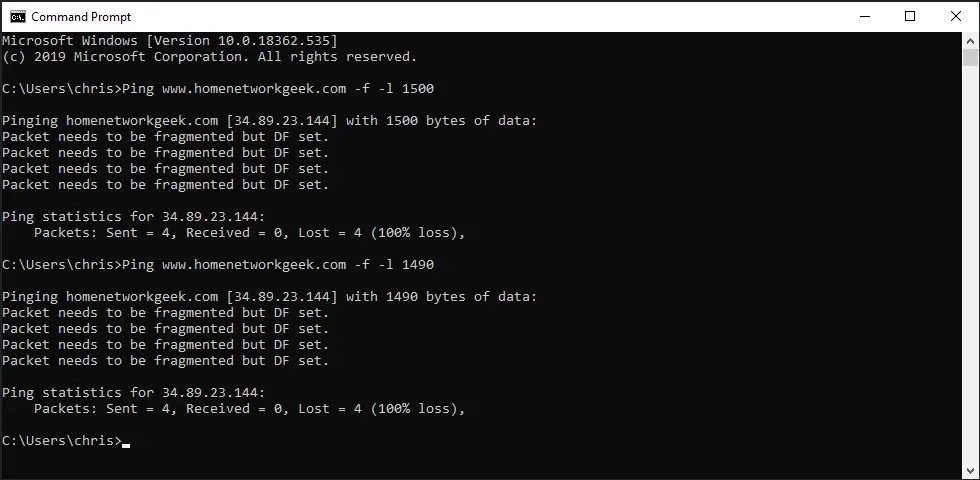
3. Once you reach a packet size that doesn’t fragment, this will be reflected in the results of the ping test

4. Now begin to increase the packet size in smaller increments and continue to test until you reach the largest possible packet size that doesn’t fragment. I found that 1460 is the highest I could achieve without fragmentation
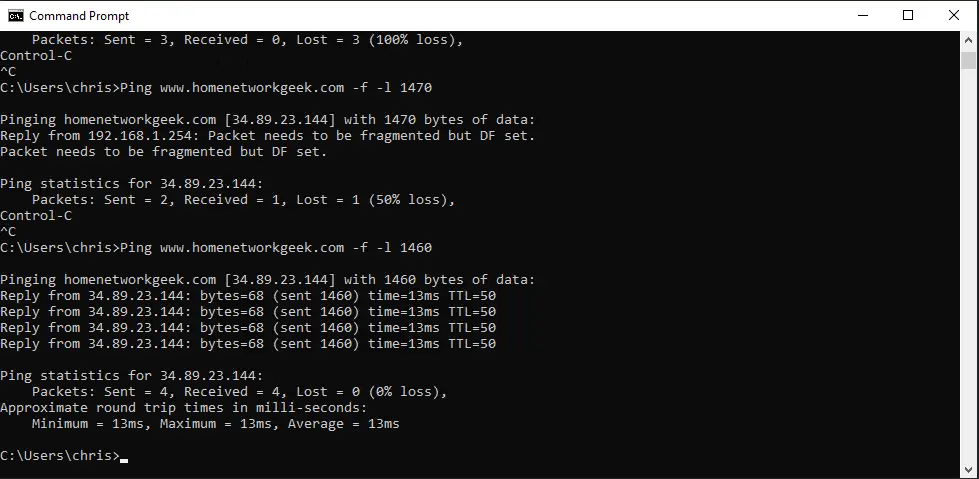
5. Take the size of the packet you have found to be optimal and add 28. It is very important to add 28 bytes as 20 are reserved for the IP header and 8 bytes are needed for the ICMP Echo Request header.
This is quite advanced stuff that you don’t really need to worry about; just remember to add 28 to the best packet size presented by the ping test.
Now that you have added 28 to the packet size, you have found your optimal MTU size for your network. Let’s now look at how we actually change it.
How to Change the MTU Size
There are two ways of changing the MTU size: on your router or within your computer’s settings for the built-in network card.
My router doesn’t actually allow me to change the MTU Size; my ISP has determined what they believe to be the best size and set that for me.
Your router may well be different and have more advanced options, allowing you to change the size.
Login to your router and check the settings; you may find it hidden within the advanced settings menu.
If in doubt, consult your user manual or the manufacturer’s website for guidance on where this setting may be located.
If, like me you are unable to do this, or would prefer to change the MTU size on each individual computer, here is a guide on how to achieve this through the Command Prompt.
1. Open a new Command Prompt window as an Administrator by searching for cmd in the search bar and right-clicking on the Command Prompt and selecting Run as Administrator

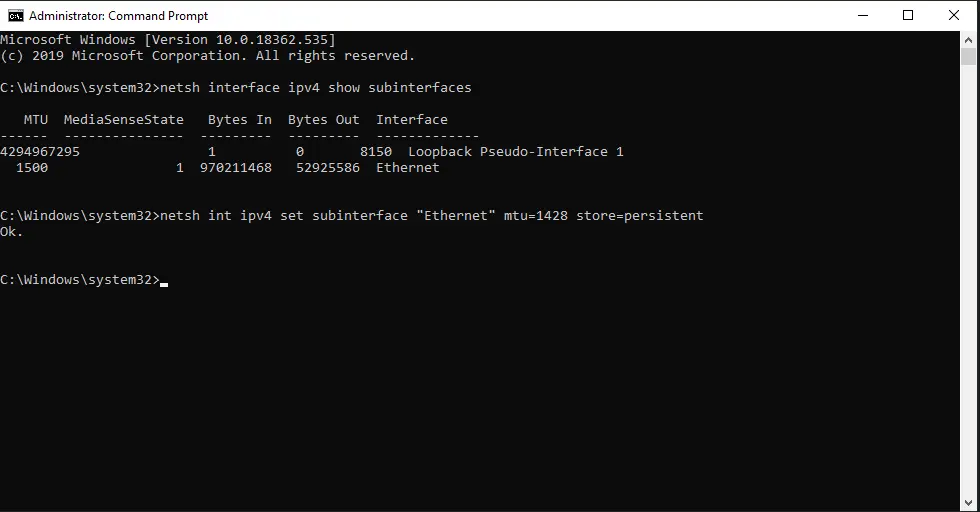
2. Type in the command: netsh interface ipv4 show subinterfaces and press Enter
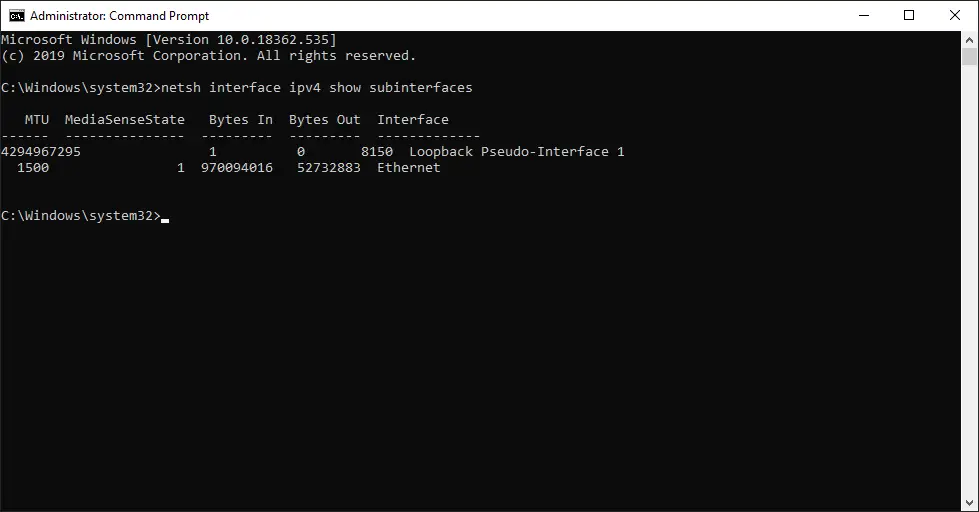
3. This will show you your interfaces and current MTU size. Make a note of the interface name as you will need this shortly. In my case, it is called “Ethernet”

4. Type in the following command, substituting “Ethernet” for your interface name and the MTU size you determined from your testing: netsh int ipv4 set subinterface “Ethernet” mtu=1428 store=persistent and then press Enter
5. The MTU size has now been changed, so you can close the Command Prompt window.
Final Thoughts on MTU Size
MTU size is always something to keep in mind should you ever experience issues connecting to the Internet or suffer from performance-related issues on your home network.
Yes, there may well be an issue with your Internet Service Provider that is out of your control, but I feel that it is also worth checking your MTU size given how quick and easy it is to both test and make changes.
Here are a few key points to remember when making changes to the MTU size on your home network:
- Use the ping test method to test which packet sizes cause fragmentation. You want to find the largest possible packet size that doesn’t result in fragmentation for optimal performance.
- Once you have found the best packet size, add 28 to this number to account for 20 bytes for the IP header and 8 bytes for the ICMP Echo Request header. This gives you the total MTU size you should use.
- Set the same MTU value on all of the computers on your network, either by making the change on your router if available or using the command described above on each device.
- Make sure you perform some thorough testing after changing the MTU size to ensure your network maintains speeds that you would expect without suffering from any lag, disconnections, or any other performance issues.
I hope you found this article all about MTU size useful. Be sure to bookmark this page so you can refer back to it should you ever experience performance issues on your network and feel that it is worth checking your MTU size in case changing it solves your issues.
